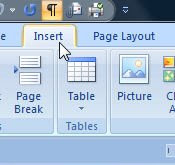
Create a new document, then click on the Insert Tab
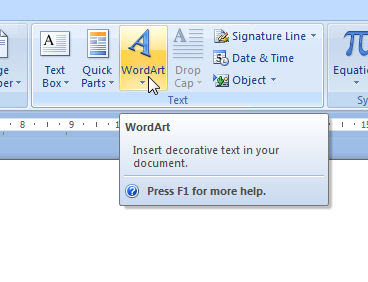
Click the WordArt button
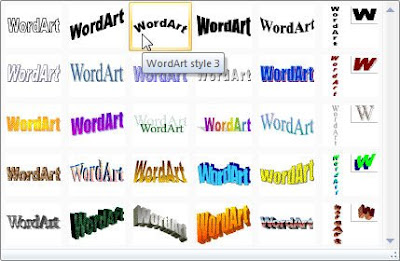
 Choose a style from the gallery, I generally use the one shown below as I don't want my text to look fancy schmancy
.jpg)
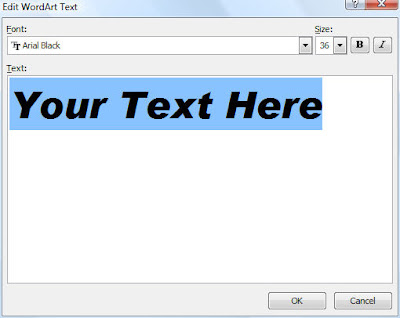
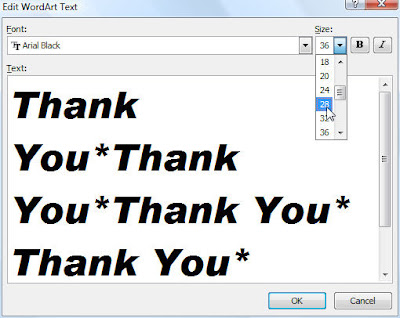
A little box pops up, change the Font here if you like and the size, you can come back later to change these things if you like so it's not vital to change right now
.jpg)
Type in the text you need, separating each phrase with an asterisk or a dash or full stop - rememeber to add one at the end because we are creating a circle!
Click OK and you get this....ewww!

Click on the Change Shape button on the toolbar, and select the Circle shape

At this point you'll see a dotted line around the outside of the circle with grab handles at each corner, use these to click and drag to resize the circle to get the size you need

At this point you can just print this off and the job is done, but you might like to add another circle to the outside of this one. So follow the same steps this time using the full stop button on the keyboard to create dots instead of text.
Now the way that word treats Word Art is different to the way that Powerpoint handles it. In Powerpoint you should just be able to position your cursor over the images and move them around how you want. In Word however these little critters refuse to move unless you format them, so on each of the circles you create, click on them with the RIGHT mouse button and select Format Word Art


4 comments:
Hi Sam,
What a lifesaver you are on those tips. I have got myself into a SERIOUS tizzy before now as I couldn't get several circles in layers like that, when I was trying to create a title, and swore that MS was a total piece of junk. Keep those tips coming.
Now, if only my printer was actually working right now, I could get a bunch of circle titles printed out.... Hubby is away in US right now so of course printer goes on strike at the one time I could get caught up on scrapping. Hey ho!!
Lindsay
Perfect - exactly what I was looking for. Gotta love Google. Thanks for your help.
I watched your new video (thanks to Allison's link) then these instructions which I can print off. Going to give it a bash! Thanks!
Thank you so much for sharing your knowledge.
Post a Comment